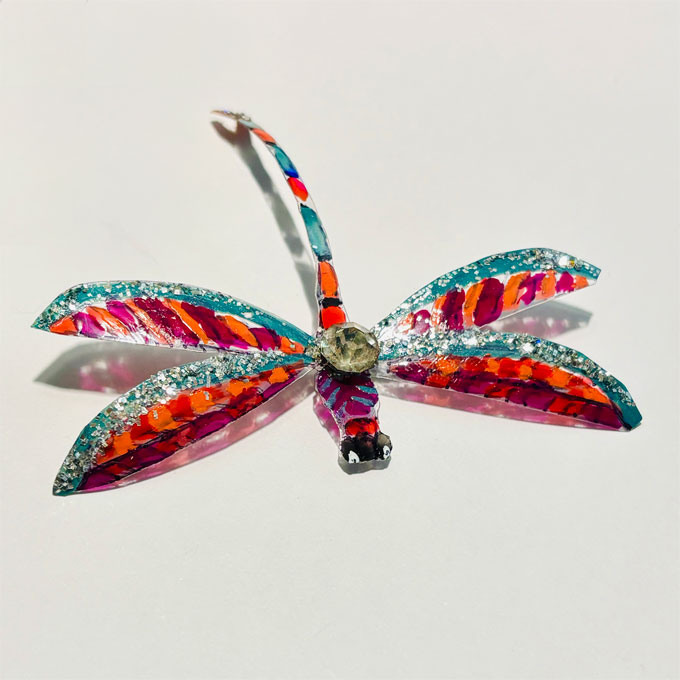
How to Make a Nail Polish Dragonfly from Plastic Bottles
Plastic bottles are one of the most versatile materials you can find around your house. Surprisingly, with a little bit of creativity, you can turn them into all sorts of things-including this adorable nail polish dragonfly! Make nail polish dragonfly using plastic bottles and a few craft supplies. This beautiful dragonfly can be made using only a few crafting supplies and indeed is simple to make. Check out our tips below to make your own upcycled dragonfly!
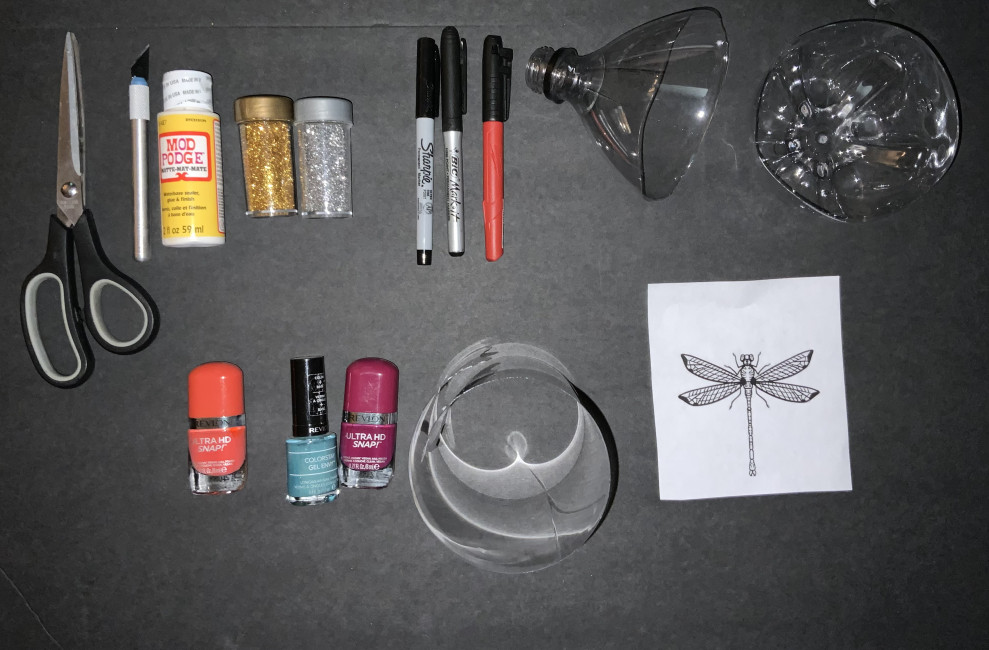
What you need to make a nail polish dragonfly
How to make a nail polish dragonfly from a plastic bottle
Follow along as we guide you through the steps to transform everyday items into a charming piece of art.
1. Gather tools and materials – firstly, gather the required tools and materials
2. Cut the Plastic Bottle
Cut the top and bottom off of the plastic bottle to leave the center portion (to trace image). Although you could use a pair of scissors to do this, I used an Exacto knife. Both scissors and an Exacto knife would work.
3. Trace the dragonfly image.
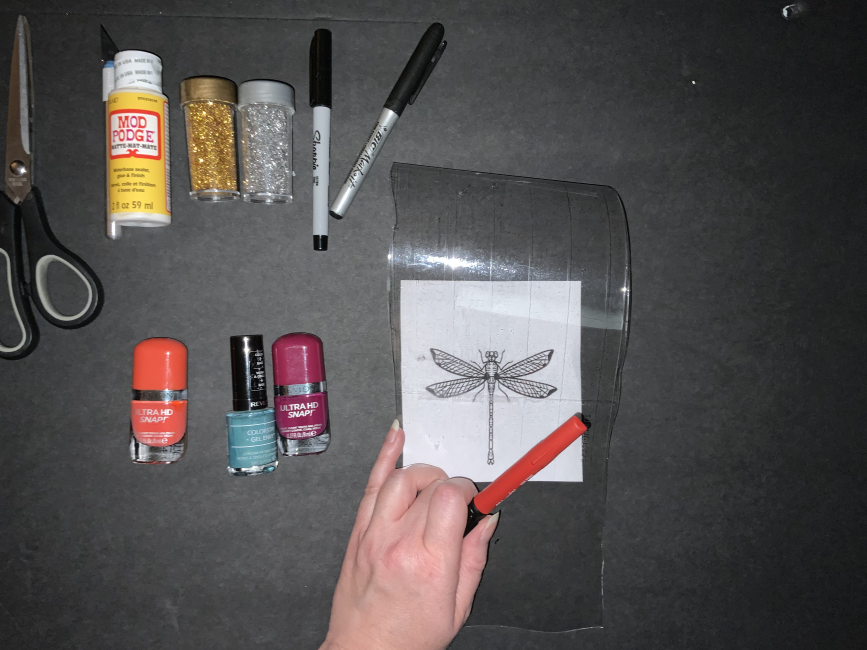
Using the cut plastic bottle piece, lay over the top of the image and trace using a permanent marker. (Supervision should be provided when kids use permanent markers and any of the other tools and materials for this project).
4. Paint the dragonfly with nail polish in your choice of colors
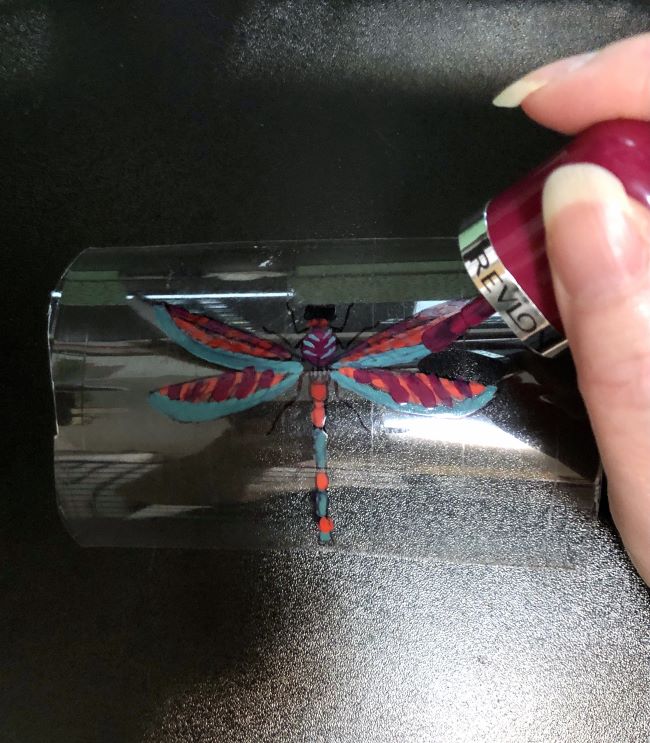
Even though white nail polish is not shown in the image, I used it to color its eyes. Besides the three colors shown in the photo, I used white. Note that to have the colors layer nicely, it’s good to wait for the coats of polish to dry before using the next color.
5. Cut out the dragonfly
As soon as the polish dries, use the scissors to cut out the dragonfly. Unless you have super-precise cutting skills, you can omit the dragonfly’s legs (as I have). Cut along the outline of the dragonfly. Use caution to not cut yourself. Once you have cut out the dragonfly, you can move on to the next step.
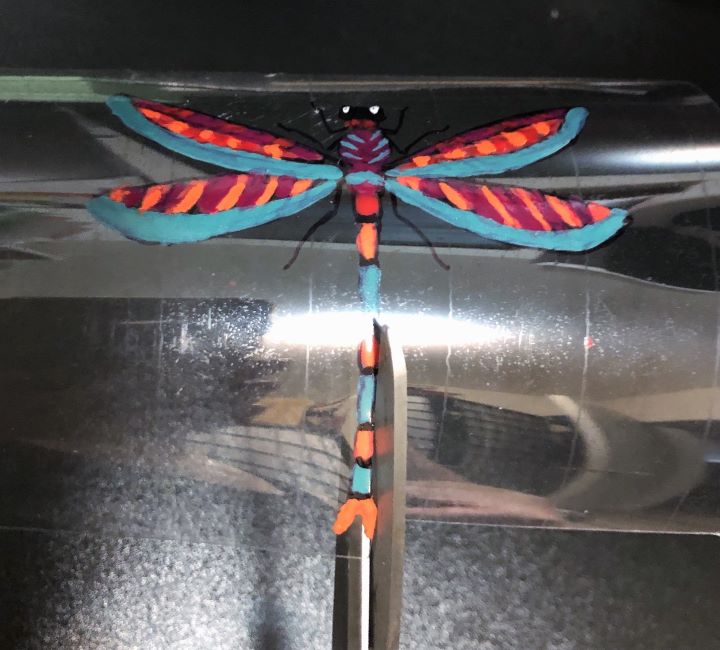
After the dragonfly has been cut out, you should have something like below.
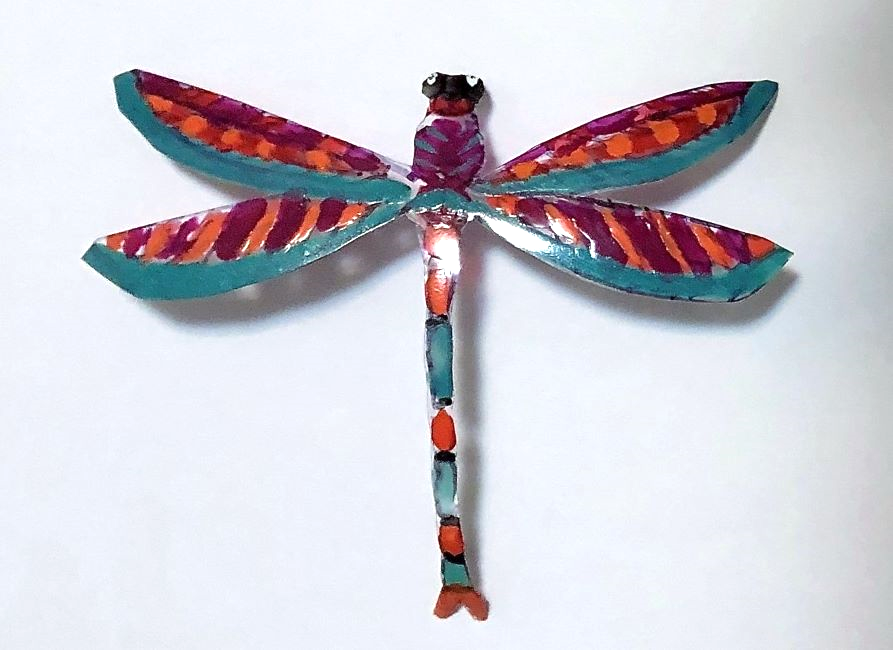
6. Add glitter with MOD Podge and toothpick
a. Once you have cut out the dragonfly, dip a toothpick in some MOD Podge and trace around the edge of the dragonfly’s wings. Meanwhile, grab your glitter of choice.
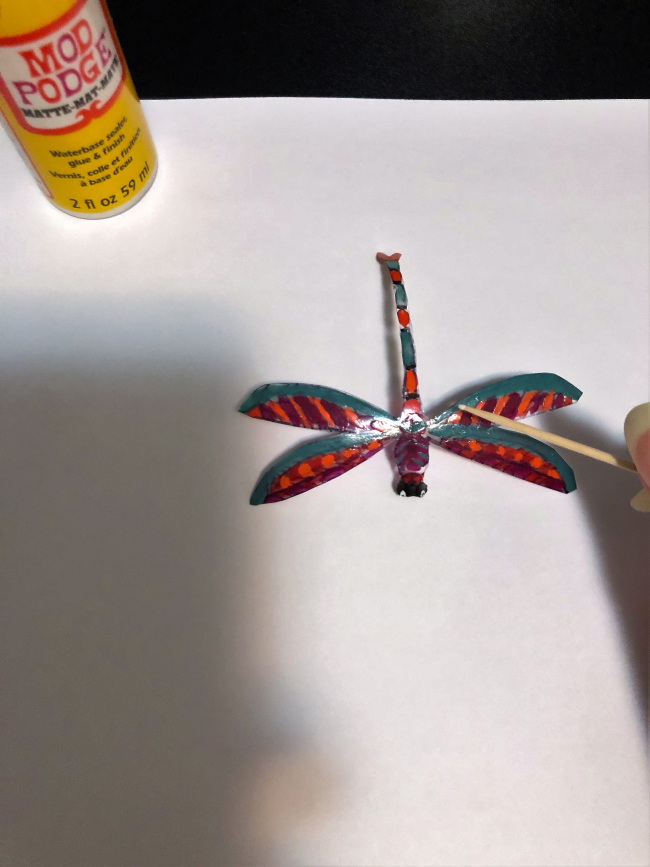
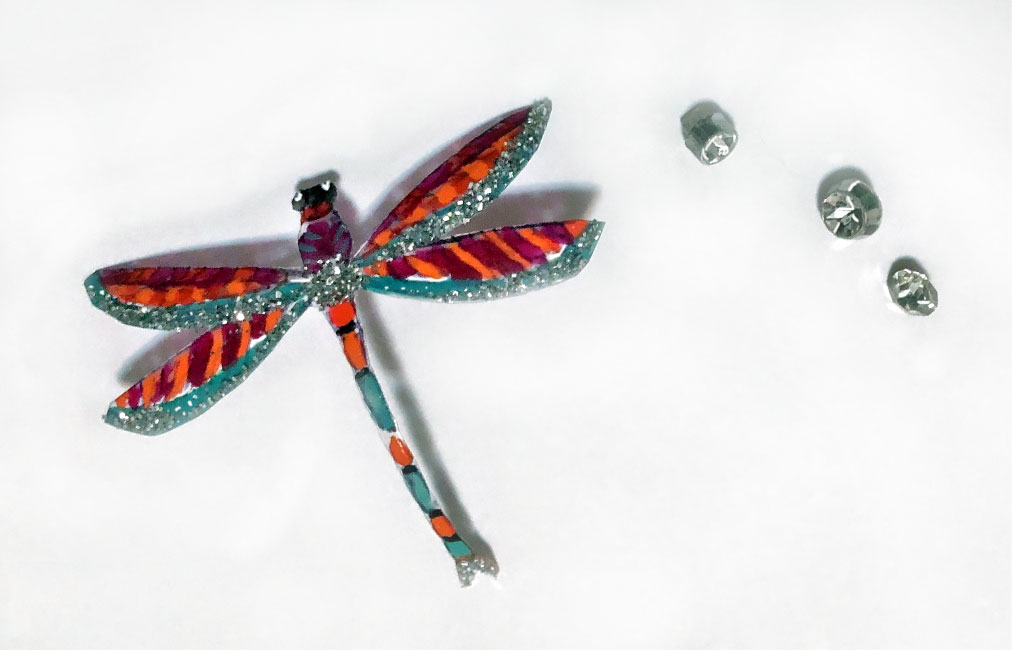
b. Then, sprinkle glitter over the MOD Podge until desired consistency is reached. In addition to the wings, you can continue these steps over its body center, and tail tip.
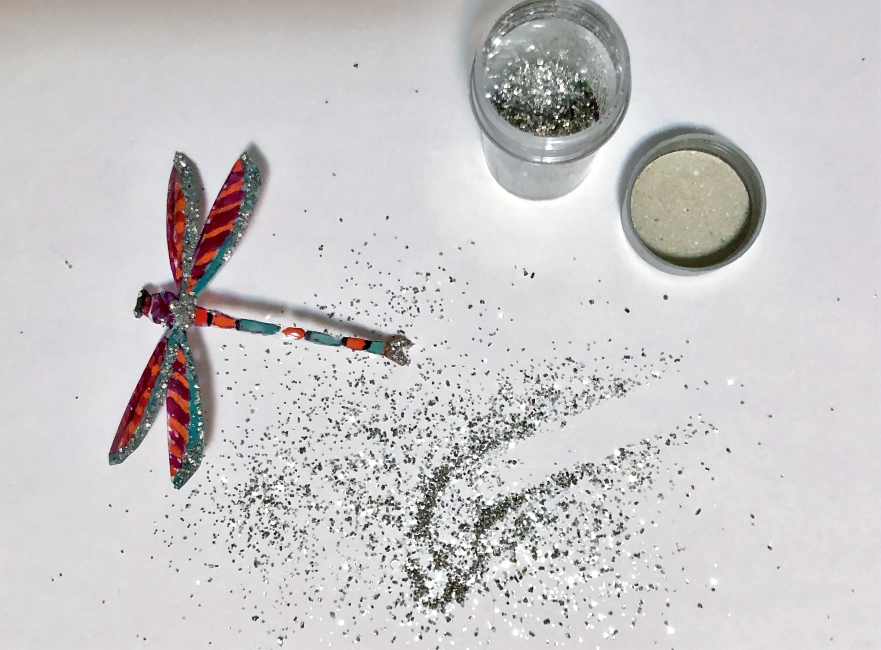
You now have a sparkly, glittery edge!

7. Add gem beads (or any other type you like)
Lastly, to the center of the dragonfly’s body, using MOD Podge (or hot glue gun), add the gem bead. Both MOD Podge and hot glue gun work for this. In general, MOD Podge takes time to dry, therefore make sure to let it dry for a few hours (if attaching the gem/bead).
Conclusion
There you have it! Creating this dragonfly using nail polish, a plastic bottle, and a few other materials brought me a great sense of satisfaction. I could craft a cute project while doing it semi-eco-friendly.
In summary, now that you know how to create your own “upcycled” dragonfly out of a plastic bottle, you can make a wind chime, wall decoration, fridge magnet, gift to someone… There are many possibilities.
