How to Make Basic Granny Squares: A Beginner’s Guide
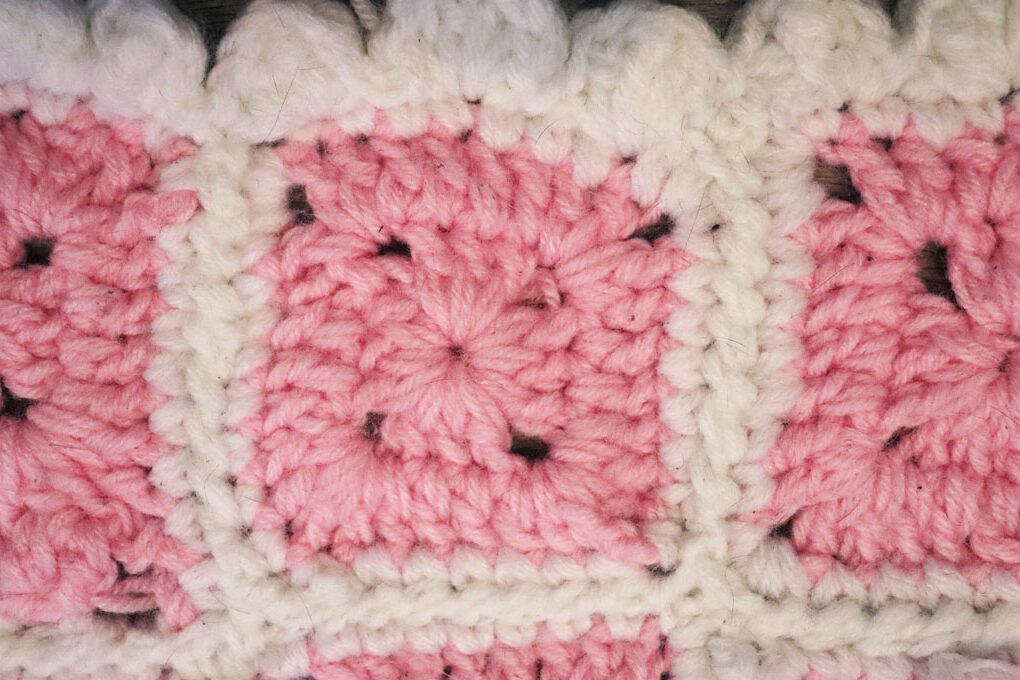
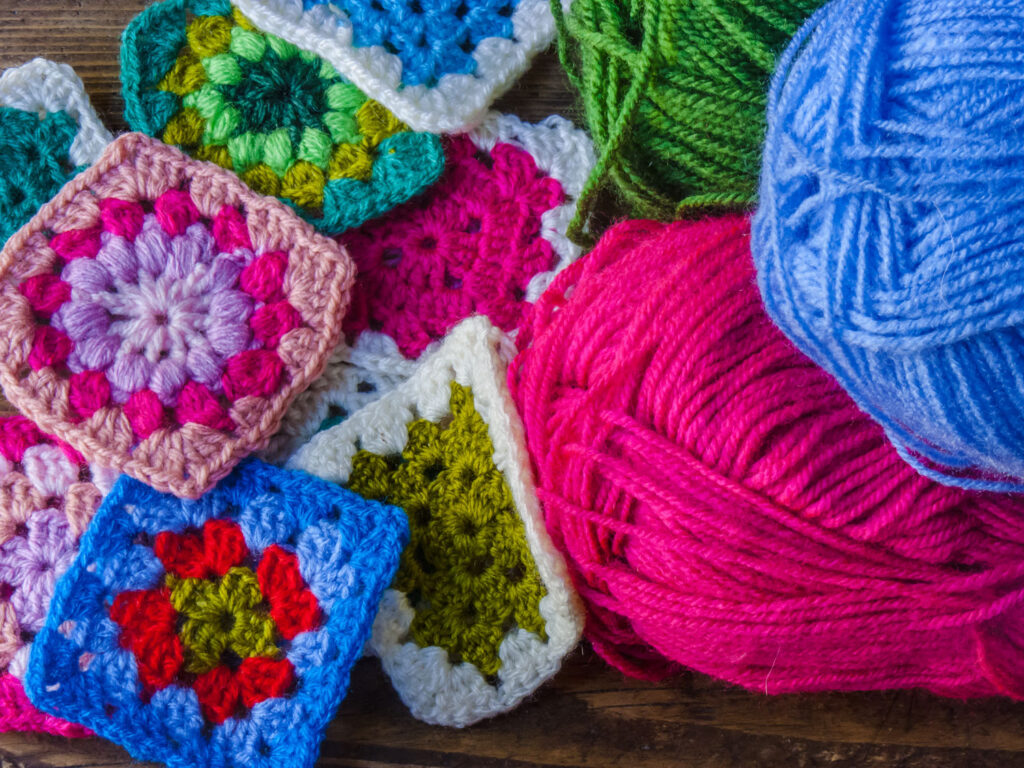
Granny (crochet) squares are versatile and popular motifs that can be used to create a wide variety of projects, such as blankets, scarves, bags, and even clothing. Certainly, they are a fundamental element in many crochet patterns, and learning how to create granny squares is an essential skill for any crochet enthusiast. In this article, we will explore step-by-step instructions on how to create granny squares for beginners, including materials and basic stitches to get you started.

Materials Needed
Yarn to use for Crochet Granny Squares
Choose the yarn of your choice, in the color(s) you desire for your crochet squares. You can use any type of yarn, from lightweight to bulky. Although, this will depend on the desired size and thickness of your squares. Make sure to check the recommended yarn weight and hook size on your yarn label for guidance.
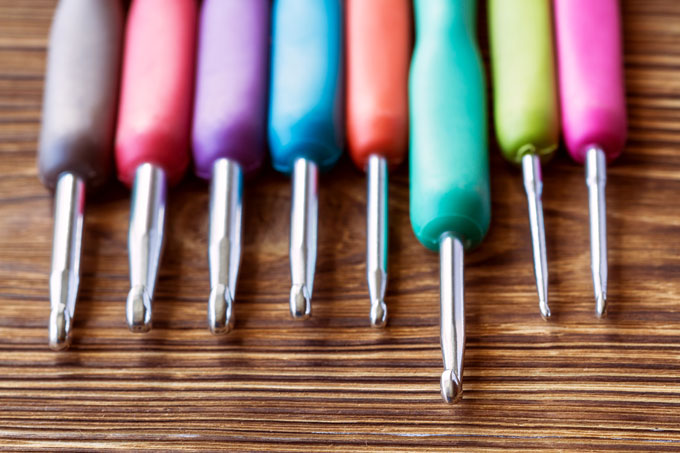
Crochet Hook to Make Granny Squares

Select a crochet hook that is appropriate for your yarn weight. The hook size will determine the size of your stitches and, ultimately, the size of your crochet squares. You can find the recommended hook size on your yarn label or in your crochet pattern.
Scissors
Use a pair of sharp scissors to cut the yarn as you work on your crochet squares.
Tapestry Needle for Making Crochet Granny Squares
Use a tapestry needle to weave in ends and sew pieces together if you are planning to join your crochet squares to create a larger project.
Steps to Crocheting Granny Squares for Beginners
Step 1: Start with a Slip Knot
Firstly, to begin your crochet square, create a slip knot by making a loop with the yarn, leaving a tail of about 4-6 inches. Insert your crochet hook through the loop and pull the yarn through to create a slip knot. Tighten the knot by gently pulling on the yarn tail.
Step 2: Make a Foundation Chain
Secondly, create a foundation chain by chaining a certain number of stitches, depending on the desired size of your crochet square. The foundation chain will serve as the base for your crochet square. For example, if you want to create a small square with 4 stitches on each side, you would chain 4.
Step 3: Create the First Row
Once you have your foundation chain, you will start working your first row of stitches. The most common stitch used for creating crochet squares is the single crochet (sc) stitch, but you can also use other stitches, such as half-double crochet (hdc) or double crochet (dc), depending on your pattern or personal preference.
Pull the yarn through the chain stitch, creating two loops on the hook.
Yarn over (YO) again and pull through both loops on the hook, completing one single crochet stitch.
Continue to work single crochet stitches in each chain stitch across the foundation chain, until you reach the end.
Step 4: Turn Your Work
Once you have completed the first row, turn your work by chaining one and then rotating your work so that the opposite side is facing you. This will create a neat edge and allow you to work on the next row in the opposite direction.
Step 5: Continue with More Rows
To create additional rows for your crochet square, simply repeat Step 3 by working single crochet stitches in each stitch across the row. Remember to chain one and turn your work at the end of each row. Continue working rows of single crochet stitches until your crochet square has reached the desired size.
Step 6: Fasten Off
Finally, when you have completed your last row and your crochet square is the desired size, it’s time to fasten off.
Conclusion

Creating granny squares doesn’t have to be scary. As a matter of face, by breaking down the process into manageable steps, it simplifies the learning curve. Yet, it also fosters a sense of accomplishment. Whether you’re looking to enhance your crafting skills or seeking a fulfilling and relaxing hobby, this guide provides the perfect foundation for creating stunning crochet squares effortlessly. Happy crocheting!